Showing posts with label Circa 1863. Show all posts

Saturday, 28 March 2015

Campaigns and Earthworks

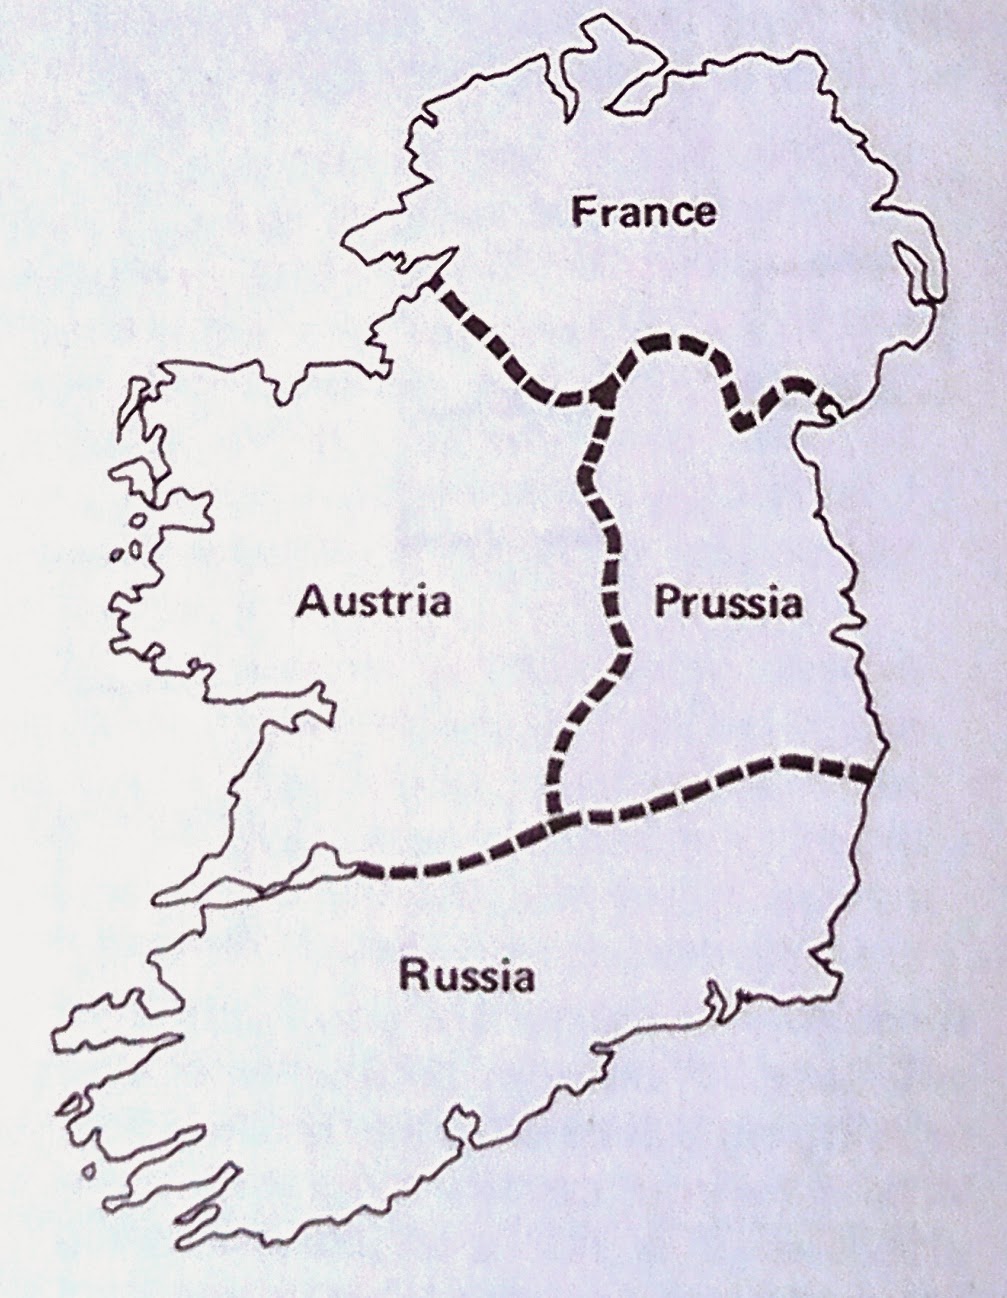
Wargame campaigns are funny things and we've tried a few over the years (and more are planned).  One of the first large scale campaigns we did used a somewhat truncated map of Ireland, over which we fought a bloody ACW campaign.
"Say cheese"
We decided to use Ireland as the basis for the map because a) Bruce Quarrie had suggested it in the Airfix Magazine Guide No. 4 "Napoleonic Wargaming" and b) we happened to have a map of Ireland.
Campaign Map from Airfix Magazine Guide No. 4
Not having access to a Xerox machine (this is quite some time ago) our map was made by (Geoff) tracing the master map and adapting it somewhat.
Hand drawn map of Ireland, somewhat adapted
Map movement was conducted using the classic matchbox chest of drawers method and battles were fought using the old Circa 1863 rules, which produced a gruelling, yet I think accurate, outcome.  Anyway, what has this got to do with earthworks?
Cautious Confederate attack on Federal positions
Well, one of the battles involved an attack by superior Confederate forces on a Union held village (Ballina).  It was judged that the Federals would have had time to throw up some defences and therefore it was necessary for me to make some earthworks.

Since then, these have lain in a box (only getting the occasional outing) but it was always my intention to fill in a few gaps and refurbish what I had already made, so this is what I did last week.
Stage 1: glue polystyrene to cardboard
Raw materials comprised strips of polystyrene pizza packaging (i.e poor man's foamboard), cardboard, matches, polyfiller, fine sand and PVA glue.  The polystyrene (suitably scored to allow it to key) was used to create the overall profile and then this was covered in filler.
Stage 2: profile with filler and attach matches
Once all this had dried out thoroughly I spread PVA glue thinly over the front slopes and added fine sand to give it some texture as the filler I had was too smooth (it was what I had to hand at the time). 
Stage 3: sit back, take out your pipe, and admire your handiwork
Everything was then undercoated in matt black and the earth slopes painted in a reddish brown colour (I used Tamiya XF-79 Linoleum Deck Brown) in order to match the pieces I already had.  The woodwork was painted with Revell Acrylic Dark Earth (82) and everything was dry-brushed with a sand colour.  And here they are lined up on the kitchen table with some Airfix soldiers manning them, veterans from the original battle.
A selection of what's in the box now
I was particularly pleased with the gun emplacements which featured in the battle mentioned above.
Suspiciously empty gun emplacement
You will notice that the emplacement I've shown is empty.  This is because, although the Federals had had time to prepare defences, they did not happen to have any artillery.

This was not known to the Rebels who approached very cautiously, only to find that the guns pointing at them, apparently fiendishly waiting until they got to cannister range, were merely tree trunks shaped and painted to look like guns.  Quaker guns.  Well, I laughed: but then I did say that campaigns could be funny things.

Tuesday, 16 August 2011

ACW Additions

As you may (or may not) have noticed from a couple of much earlier posts on this blog, I have a venerable plastic 1/72 ACW Union army based for Circa 1863 rules (sort of), that gets out now and again.  Although the Circa 1863 rules were good for their era (published in 1978) and we've had some great grinding ebb-and-flow games with them, it is time now to move on and, having considered various rule sets, I have decided to rebase them for (Regimental) Fire & Fury.

Obviously at this scale the standard infantry 1" by 3/4" basing in RF&F won't work so the bases I will use will be scaled up more or less proportionately to 40mm x 30mm (and so on for cavalry, etc.), as the rules recommend.

Actually, basing seems to be far less of an issue with modern rules and therefore I'm confident, if RF&F does not turn out to be satisfactory, that the basing will probably do for Black Powder (once I've had a look at it) or some other rule set yet to be discovered.

However, looking at what needed to be done I came across a bag of unpainted figures and impulsively thought that I might as well paint them up to bulk up the existing forces I have.  I often shy away from painting figures but actually this time I enjoyed it (and finished them in two evenings). I must be maturing.
They've been around for a while and I wasn't sure what they were but a quick look at the informative Plastic Soldier Review site revealed that they were mostly Revell with the odd IMEX thrown in.
The paint job isn't that spectacular (or indeed totally finished) but I wanted to make them fit in with the plainly painted figures I already have (that's my main excuse).

Also, although there is a lot of detail, folds and so on, on these figures, the standard shading techniques doesn't seem to work as well as it does on larger metal figures, I think because the plastics are a lot more realistic in their proportions and have much shallower folds and generally less pronounced features (that's my second excuse).  Or, I'm just rubbish at painting (truth will out!).

Adventures in basing to follow.

Thursday, 7 April 2011

Wish List No. 2

This continues my ramblings on current wargaming periods and what I’m planning to do down the line and when I get back to Blighty.

20mm ACW
We’ve quite a few 20mm plastic ACW figures stored away that get an airing now and then (see earlier posts).  We started out with home grown rules but have used Circa 1863 (slightly modified) for a very long time.  However, I’m looking seriously now at Regimental Fire & Fury (and vanilla F&F) which would mean wholesale rebasing.  It’s possible that I may just start again with a 15mm ACW project (Geoff already has).

My cavalry is actually all 30mm plastic Spencer Smiths (there weren’t any 20mm plastics when I did them as Airfix had stopped making the 7th Cavalry at the time) but I now have some Revell ACW cavalry to paint up, which are very nice figures.  There’s plenty of terrain available though some of this needs ‘refurbishment’ and there are one or two additional buildings I think are necessary.

AK47
I bought two whole AK47 Version 1 Peter Pig armies on ebay last year and they’ve never been used; and I have a well thumbed copy of the Version 1 rules but may need to upgrade.   After playing the computer game Operation Flashpoint (and ARMA/ARMA2) for years, I’m keen on supplementing one of the armies with some BMPs, which are on my to-do list.

As an alternative to AK47, I downloaded a copy of Ambush? some years ago (before Jerboa went commercial) and they look like a good free modern infantry combat set for low level warfare, so I am keen to try those out at some point.

I’ve got various 15mm (up to 20mm) African style modern buildings half made, including shanties, a hotel and 1950s style airport terminal, which I’ll need to finish off (watch this space). Some of these are generic enough to be used for other earlier periods in arid terrain (also watch this space).   In addition, other terrain pieces including walls, palm trees, thorn trees, banana trees (after seeing them here), advert boards (Welcome to the Rumbabwe Hilton!) and factories are planned.  Figures may need rebasing also as they’re just PVA and flock at the moment.

WW1 Naval (General Quarters)
I have some Navwar 1:3,000 scale German and British warships (mainly cruisers, destroyers and some merchantmen) and have had one or two WW1 games using General Quarters 2 which is a fine set of rules.  The plan with these was to run a solo campaign in Berthier based on commerce raiding in the far east and/or Indian Ocean. I’m hoping to have a few more games with what I’ve got and intend to build up fleets gradually.

More wish-lists later.

Sunday, 27 March 2011

ACW Positional Defence - Part 2


The Rebel attack started with a general advance all along his line (no call for subtlety here). However, I hadn’t quite clocked how strong the attack on my left would be with a total of six Rebel regiments against two Union regiments backed up only by the battery in Redoubt C (see previous post for battle map and set-up).

Splitting what little infantry I had on the left I sent a regiment of Zouaves into the woods at the far left to counter Rebel infiltration on my flank, whilst one Union regiment was moved forward to close the gap between Village A and Redoubt C.

 
My thinking was that maybe I could keep the Rebels at arm’s length while my batteries in the redoubts could cut them up and perhaps weaken them enough so that I could hold on to two of the three objectives by the end of the game, as required by the scenario. Meanwhile, in the centre the Rebels advanced steadily (perhaps suicidally) towards Redoubt 1.
  
However, back in the gap between Village A and Redoubt C, things didn’t turn out too well, as you can see from the before and after photos below. Somehow, I think that the ‘effectiveness’ of these free Cold Harbour rules could be tweaked a bit!
Before: (What? Outnumbered four to one? Piffle!).


After: (Bang! Heh-heh ... er... how come we missed one?)


Having swept the opposition away in just a few short volleys and with unerring accuracy (with the dice at any rate), the Rebels rushed forward to clear the gap, sending a further regiment confidently on to assault Redoubt C, as shown in the photo below (way in the distance, beside the wood).  
In the foreground the Rebels were already occupying Village A, trampling though gardens and vegetable patches in front of Redoubt 1. Wasn’t I supposed to hold on to that objective? Here is a view of Redoubt 1 (Spencer Smith general in the background).
 
Back on the left, the unit attacking Redoubt C did take some casualties, before the Union battery started to waver (note Union Zouaves reforming in the background as more Rebels advance through the woods).


Meanwhile the Rebel advance through Village A towards Redoubt 1 was not faring so well and these units suffered, although not before picking off my artillerymen, with some help from their supporting artillery (see below, view from Union left flank).


Unfortunately with the Confederates poised to overrun Redoubt C and already in possession of Village A, as well as Redoubt 1 cleared of Union artillery, we ran out of time. Another few moves, though, and I think that the Rebels would have quickly got behind Village A and started to roll up the remaining Union forces and would have won the game decisively. 

Overall, an interesting scenario and one to try again another day, but not much of a thumbs up for the Cold Harbour rules, which were a little too bloody for the brigade size games we normally play. I’m all for decisive results but am not so keen on losing 95% of a regiment in the space of two moves after a few good die throws!

Nevertheless, it was good to get the old troops out (and the terrain), and hopefully they’ll get an airing again sometime soon.
Regarding other ACW rules I’ve been keen on Circa 1863 (Tabletop Games), with some slight modifications, for a very long time, having won many grinding, bloody, ebb/flow, and intensely satisfying battles in the past with them. They do take some time to play though but we usually seemed to have more time in the old days. However, I am now looking seriously at Regimental Fire & Fury, which I’m hoping to try out for our next outing.