Showing posts with label Campaigns. Show all posts

Saturday, 9 May 2026

One-Hour Wargames 19: Blow From the Rear

Quite some time ago we started (and eventually finished) a five-game mini-campaign based on the scenarios presented in Neil Thomas' useful book One-Hour Wargames.  The campaign premise is set out here, but basically the idea was to create a sequence of more or less logically linked games drawing from a branching set of possible scenarios.

Württemberg Chasseurs à Cheval - 15mm figures by Warrior Miniatures
Württemberg Jäger zu Pferd Herzog-Louis (Warrior Miniatures, 15mm)

The campaign was supposed to be a Napoleonic one, but other periods did creep in.  The four scenarios leading up to this one played (in sequence) were: 
As I had lost Scenario 07, Geoff got to choose the last game (Scenario 19) and elected to be Red, possibly because, quoting the book's description of the situation, this is what Blue (me) would have to deal with: "The Blue general is defending two river crossings from what he thinks is a numerically inferior Red force.  His complacency will be shattered when an additional Red contingent arrives in the Blue rear area."  Shattered you say?  We'll see about that...
 
Hand drawn map of OHW Scenrio 19
OHW 19 : Deployment and Manoeuvres
 
The scenario required that the Blue army (my 15mm Württembergers, all by Warrior Miniatures) start with two units confined to the road in the south-east corner of the table until Move 7, with four units to be deployed within 6 inches of the river.  Red (Geoff's Austrians) would commence with no units on the table initially, but with three starting on the north side of the map on Move 1 and then three more units appearing from the west on Blue's side of the river at Move 6.
Initial deployment with Austrians moving towards the bridge
Initial deployment

You'll note from the map that we actually started with seven units each so that we could have some light infantry and artillery, and also that I had forgotten how to spell Württemberg.  The rules we used were WRG 1685-1845, still going strong after all these years.  Anyway, the game opened with the Austrians marching rapidly to contest the bridge. 
 
Wargames table with Austrians advancing
The Austrians advance to the bridge

Meanwhile a regiment of Austrian infantry crossed the ford to the left of my position, intending to bolster the units that would inevitably 'surprise' me as they appeared from the west.
 
Austrians ford the river
 
Full of enthusiasm, the Austrians charged across the bridge crashing into the Württemberg 1st Line Regiment (with the yellow flag), as the other Württemberg regiments prepared to step in and support. 
 
Austrians charge across the bridge

The Austrian charge managed to push back the 1st Line Regiment but it was not broken.  Meanwhile, the Austrian flanking force had rapidly arrived, supported by the infantry that had crossed the ford.
 
The Austrian flank attacked develops

The Austrians continued to push forward aggressively, probably hoping to shatter the Württembergers, as their infantry charged across the bridge into the halted 1st Line Regiment whilst the Austrian cavalry crashed into my artillery and my Jäger zu Pferd (mounted jägers).

The Austrians attack on all fronts
Mixed results for the Austrians however.  In the centre, the Austrian heavy cavalry easily swept away my artillery and pursued them off the table to the east.  However, the combined firepower from the Württemberg 1st and 4th Line Regiments completely destroyed the Austrian infantry that had managed to cross the bridge, leaving an Austrian general isolated on my side of the river.  Meanwhile the fighting continued between the Jäger zu Pferd and the other Austrian heavy cavalry unit.

Mixed results

Unfortunately for the Austrian cavalry still on the table, they were forced to flee after being bested by the Jäger zu Pferd, aided by some nifty flanking fire from approaching light infantry (Jäger zu Fuß).

Austrian cavalry flee beyond the blue zone

It turned out that things were not going well for the Austrians, with all of their cavalry off the table (or about to be) and having lost a regiment of infantry already.  However, the Austrian infantry that had crossed at the ford was still active and needed to be dealt with.  So, having driven off the Austrian artillery on the other side of the river, the Württemberg 5th Line Regiment (Blue flag) turned to face this threat. 

Württemberers realign to the flank

Despite the 5th Line Regiment taking casualties, the Austrian infantry were being effectively boxed in by the Jägers, with nowhere to go, except to their rear, which is where the Jäger zu Pferd had ended up, having pursued the Austrian cavalry off to the west.  Meanwhile, the other Austrian cavalry that had followed my artillery off the table earlier had reappeared, but were about to be fired on by two regiments of infantry. 

Endgame (nearly)

At this point the Austrians conceded the game, realising that they were outnumbered on all fronts and that they could not achieve the victory condition of ensuring no Württemberg units remained within 6 inches of the river by the end of round 15.

Overall, this was quite an interesting encounter which probably could have gone either way.  The Austrians were aggressive and tried to coordinate their assaults but were unlucky and often flanked, which weakened their attacks.


Monday, 30 August 2021

One Hour Wargames 7: Flank Atttack (2)

Right lads, I'm back.  It's only been a year.  But of course I've never been away (few of us have).  But oddly with all that extra time stuck at home I've done far less wargaming related things than I would normally do in a similar twelvemonth.

Tutti a Venezia!

Anyway, here, finally, is the after action report (AAR) of what was the next game in our (now) extremely long running One-Hour Wargame campaign.  In fact this game was played at the start of March 2020, a week or so before the first Covid-19 pandemic lockdown.

Yep, that's a flank attack alright

As I pointed out in the previous AAR from this campaign, the varied scenarios in Neil Thomas' book are often inspired by classic scenarios published by others, with the playing area reduced to 3' by 3' and with simplified terrain layouts.

However, what we did find from playing the previous games was there often wasn't enough terrain on the table to make things interesting for our tastes, although this is possibly because we usually play on our 6' by 4' boards, so everything is a bit diluted.  That said, I do like a bit of granularity, where specific features like buildings, stone walls, woods and marshes do have a significant effect on battle outcomes, as they very often did in real life.

Therefore, reading the OHW blurb for this scenario, CS Grant's scenario Flank Attack (2) was referenced as an inspiration, and looking at the original it was clear that a more interesting table could be set up using his map, rather than the one in OHW.  Anyway, long story short, this is what our table looked like at set up.

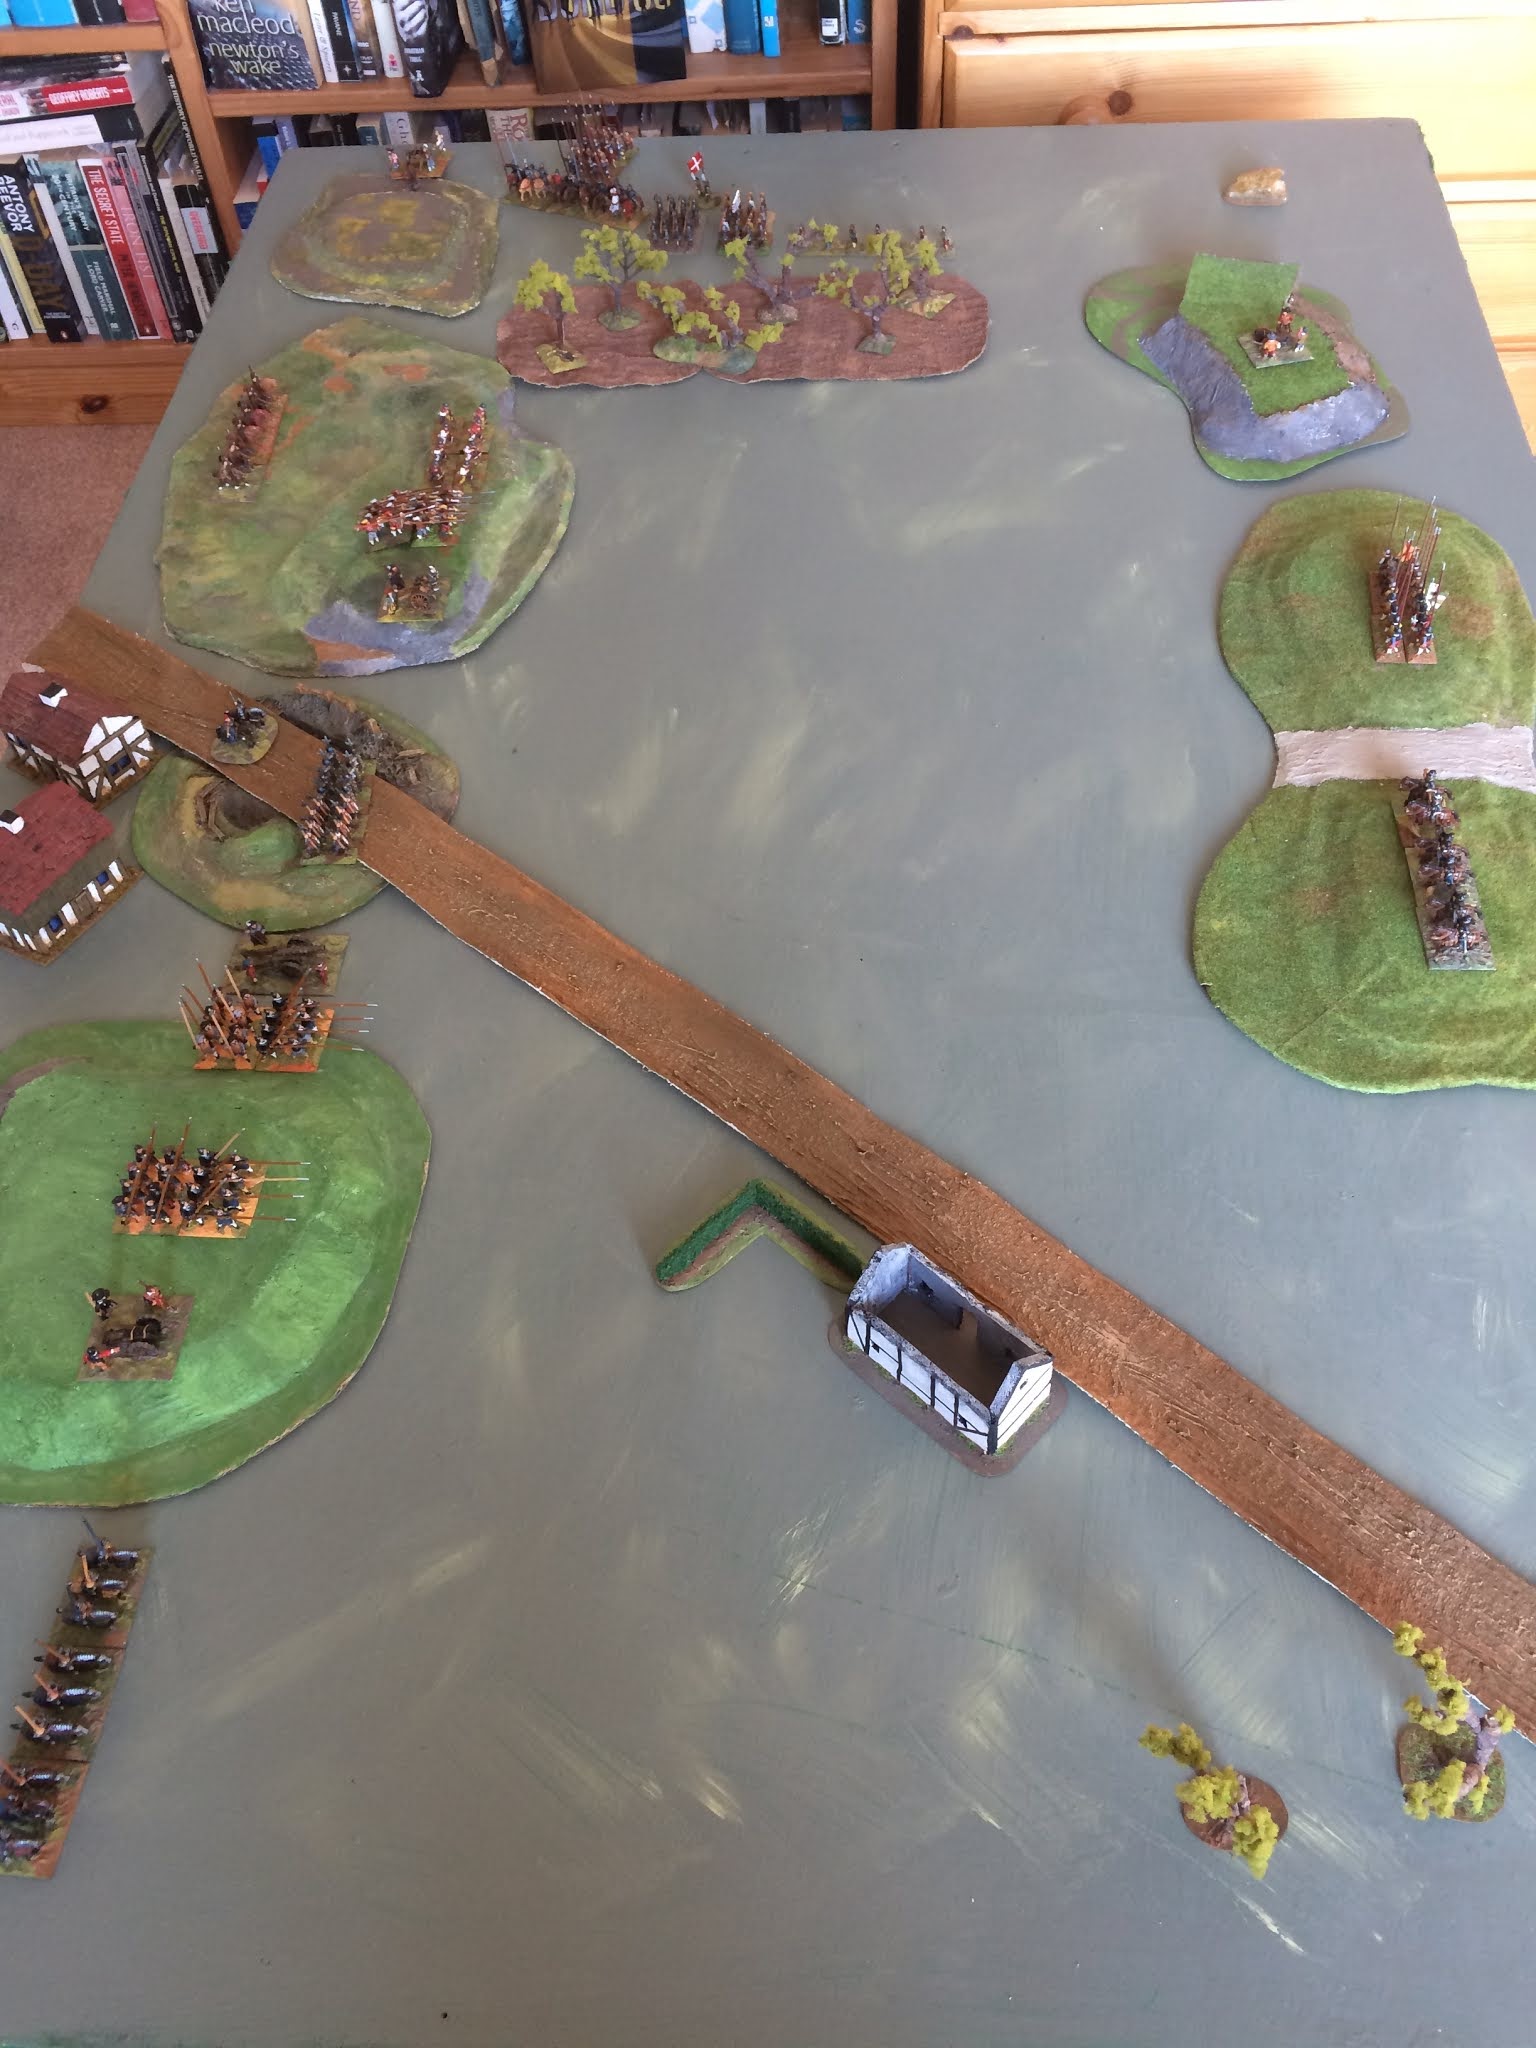
Initial positions, with enemy starting behind the defender's flank.

Both scenario descriptions explain that the defending force should be deployed expecting a frontal attack, but in fact there is a "surprise" flank attack in the offing.  For our game, troops were deployed complying with the requirements of the CS Grant scenario.

Not a good start.  My defending LH are already pulling back.

Also for this campaign game we used Geoff's 15mm Renaissance figures for the first time.  These comprise a mixture of Roundway (which seems to have disappered), Alternative Armies, Essex (?) and possibly others.  The AA figures are apparently ex-Tabletop Games (now defunct), although they are adding to the range all the time.

Imperials push forward aggressively on the left

Anyway, here are some selected photos from the game.  I'm not going to do a detailed blow-by-blow account of the action because it's so long ago I can't remember exactly what happened. 

However, basically, to cut a long story short, the Imperials commanded by Geoff sure enough attacked through the woods on the Venetian's left (surprise!), and after a bit of struggle I was eventually pushed off the ridge and he won.

Pikes vs Cuirassiers - I wonder how that will turn out?

What I do remember is that most of the fight happened on my left flank as one might expect.  With only some LH, a unit of crossbows and one pike block (with some artillery in the wrong place) it should have been easy for the Imperials.  And sure enough, right off the bat, my LH decided to withdraw under light artillery fire.

Cuirassiers defeated by pikes and my LH rally

Geoff's cuirassiers then moved up to engage my pikes, whilst his pikes advanced to threaten my crossbows.  At first it went well, my pikes managed to defeat the cuirassiers and my crossbows held off Geoff's pikes for a couple of moves through accurate fire and then, remarkably, in hand to hand combat.

Tough fight.  My LH moves to menace pesky artillery on the flank.

My pikes could then move forward to engage the enemy pikes.  But more pike blocks were streaming through the woods.

The Venetian right wing saunters into the centre.

Meanwhile, my strongest troops, inconveniently posted on my right, started to move into the centre, to try to get into the action.  Somewhat slow progress ensued.

Still fighting on my left.  Confused situation in the centre.

Things were not going well.  There was hard fighting on my left and more enemy pike blocks were moving up, eventually sweeping away my crossbows.  This left my only pike unit on the hill somewhat isolated.

Imperial pikes sweep onto their objective.

With the demise of my crossbows the enemy was able to get onto the hill, with further reinforcements on the way.

Push of pike in the centre.

Meanwhile in the centre I was getting bogged down with little chance of being able to relieve my crumbling left flank.

This is what defeat looks like.

Eventually it was all over, with the enemy on the ridge and without much chance of me getting it back.  A win for Geoff.

The rules we used were Furioso by Alternative Armies.  I didn't warm to them at first because I wasn't familiar with them (so was perpetually confused about certain mechanisms) and I'm not that keen on rules that use buckets of dice (or that need chits put onto the table).

Chits with everything.
That said, I have since bought a pdf copy and have actually read them so now understand a bit better what was supposed to have been going on.  Always useful to understand the rules properly before starting a wargame...

One final thought is that having a specific objective is so important in wargames.  In the old days we used to just set up our armies opposite each other and fight it out until one or other of us held the field.  

I mean defeating the enemy directly in battle is a valid objective, but the importance of terrain and strategic features to fight for makes a game a lot more interesting.  Hopefully the next (and final) game in this campaign (OHW #15 or #19) ticks those boxes.

Sunday, 7 June 2020

One-Hour Wargames 13: Escape

We have been playing a mini-campaign based on a branching sequence of scenarios taken from Neil Thomas' book One-Hour Wargames.  The approach to the campaign is set out here.  So far we had played two games, Scenario 16 Advance Guard and Scenario 14 Static Defence, and as I won the last game in the sequence (and to be honest the one before that) I got to select the next encounter.
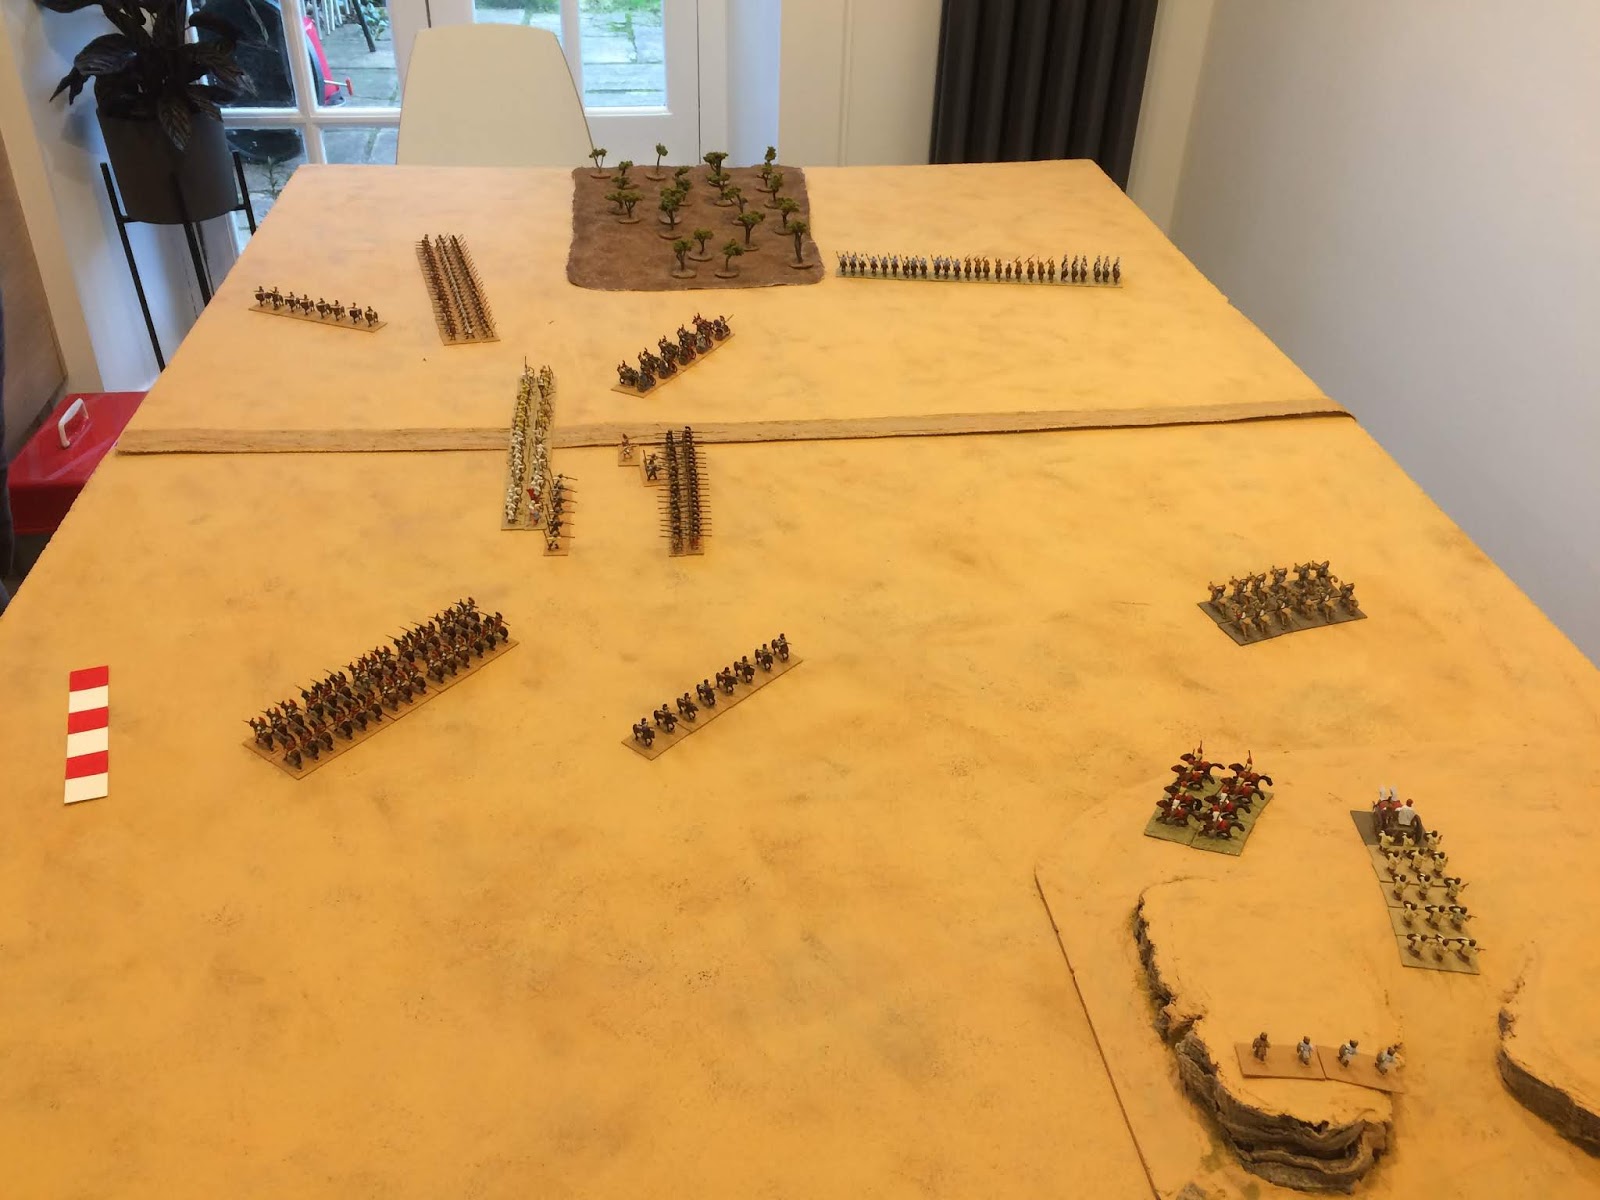
All quiet on the Eastern (Anatolian) Front
This is therefore the AAR from the game we played (in February), 13 Escape, which to be frank turned out to be a bit of a dud, so I couldn't be bothered wrting it up at first, but then for completeness (and due to some time on my hands brought on by the Covid-19 lockdown) I thought I should.
A simple plan
The book describes the situation thus: "The blue army is returning home from raiding Red territory.  Its journey is blocked by a number of Red units."  The scenario gives both sides six units, with the Reds having one unit on the table, two units coming on from the hill (marker 1, see map) at turn 2, two units arriving on the table from behind the wood (marker 2) at turn 4 and a single unit coming on at marker 3 on turn 6.  Blue's objective was to get at least half of its units off the far end of the table via the road.
Lydian start line
For this game we decided to get our old De Bellis Multitudinis (DMB) armies out as we'd not used them for quite some time.  The scarpering Blues were therefore my Lydian (I/50) army and the blocking Reds were Geoff's Early Achaemenid Persians (I/60).  The single Persian unit allowed on the table was a line of Sparabara blocking the road.
Sparabara in the way, again
The game got off to a rapid start, particularly as we both suddenly realised/remembered that the rules allowed our units multiple march moves when not in close proximity to the enemy.  This meant that, with some excellent PIP dice throws, within two moves the Lydians were nearly halfway across the table even before the Persian pursuit force could get their boots on.
Lydians advance (very) rapidly
The Persian's plan seemed to be to use their numerous cavalry as the pursuit forces and the first of these appeared over the hill at move 2.
However, the Lydians continued to push forward, not only in the centre, to engage the Sparabara, but also on the flanks, in order to encircle the Sparabara if necessary but also to allow a rapid exit off the table if possible.  Meanwhile, some Lydian (Paphlagonian) light horse turned to face off the Persians streaming down from the hill.
Nice bit of flanking
The problem for the Persians was that they were never really able to catch up.  Whilst the Lydian hoplites and psiloi were squaring up against the Persian Sparabara in the centre, the Lydian cavalry, chariots and auxilia were literally flowing round the flanks behind them.  However, the Persian cavalry was still too far away to be effective.
A confusing picture
As can be seen from the above picture, the Sparabara (white and yellow tunics, pale green base) in the centre, have been contacted by Lydian psiloi, whilst other Lydian units flow around the sides.  The Persian cavalry meanwhile is mostly still on the hill or behind the wood on the right of the table.
Lydian hoplites push back Persian Sparabara
In the centre the Lydian hoplites finally reached the Sparabara and started to push them back.  The Persian cavalry was still in pursuit but was having trouble reaching any of the Lydians, apart from the Paphlagonian light horse sent back to delay them.
Paphlagonian light horse verses Persians
Meanwhile, most of the other Lydian units were getting close to the table edge preparing to exit.  As DBM is a bit flexible when it comes to defining units, we had decided that the Lydians needed to get half of their original number of elements off the table to win.  And then, finally, some Persian Immortals turned up.
Persian Immortals - better late than never I suppose
As can been seen, the Immortals were somewhat outnumbered by the hordes of Lydian auxilia.  But in the end, it didn't really matter, because the Lydian cavalry was already streaming off the table and most of the auxilia would soon follow suit.
I'd be worried if I were you
Fundamentally, the Persians never really managed to catch up with the Lydians, slowing them down or delaying them enough so that they could be destroyed.  I think this was a reflection of the DBM rules which allowed march moves so that the Lydians were always too far ahead.

That said, one of the things about the OHW scenarios is that the table set-ups are very simple with not many features on the table.  This means that there is very little tactical use of terrain and the issues (and interest) that that can cause can be missing.

However, one thing I did notice from re-reading the OHW scenario was that it is based on another scenario from the really excellent CS Grant book Scenarios for Wargames (WRG, 1981), in this case Scenario 10, Breakout.  In fact, a number of the OHW scenarios are simplified versions of the ones created by CS Grant.
Every wargamer should have one of these
Looking at it after our game it was clear that the Breakout scenario is a more complex and potentially more interesting set-up than the one in Neil Thomas's book (plus there's a bit more terrain to deal with), and to be homest I wish I'd realised that earlier.

Therefore we decided that for the next game in the OHW campaign series, if there was an equivalent source scenario, then we should try using that, rather than the simple scenario in Neil Thomas' book.  Which is exactly what we did for the next campaign game that I will write about (when I get around to it), Scenario 7: Flank Attack (2).

[In case anyone is interested in the figures, my Lydian army comprises almost exclusively 15mm Chariot (now Magister Militum) figures, whereas the Persians are Essex, all painted and based a very long time ago...]

Thursday, 13 February 2020

One-Hour Wargames 14: Static Defence

We are currently running a simple campaign comprising linked scenarios from Neil Thomas' book One-Hour Wargames.  The outline of the campaign is described here, with the idea that whoever won the first game would get to choose the next scenario from a limited but branching list.  As recounted here, I won the first encounter, a 20mm Napoleonic French versus Prussians affair, which meant I got to select the second game we would play.
The scenario I chose was No. 14 Static Defence, where the defender was required to occupy two objectives (a hill and a built up area (BUA)), whereas the attacker only needed to hold one of them by the end of the game (15 turns).  Furthermore, to add to the defender's woes he would at all times have to keep at least two units within 12 inches of the hill and two units within 12 inches of the BUA.

For this game we stayed in the Napoleonic period but I was able to field my new, 15mm Warrior/Roundway Russian army for the first time.  My opponents would be French with some Bavarian allies and the rules used were our trusty WRG 1685-1845.  Order of battle was as follows:

Russian (6 units)
1 x Murmansk Musketeers (Lithuania Inspection)
1 x Rostov Musketeers (Lithuania Inspection)
1 x Tomsk Musketeers (Siberia Inspection)
1 x Ekaterinoslav Grenadiers (Lithuania Inspection)
1 x Emperor's Cuirassiers
1 x 6th Jägers

French/Bavarian (6 units)
2 x French Line
1 x Old Guard
1 x Bavarian Line
1 x French Cuirassiers
1 x French Foot Artillery
 
The scenario puts the defender in the difficult position of having to defend two objectives but not knowing which one the attacker will go for.  The obvious objective would be the BUA, because it is closer to the attacker, but that's not how I decided to play it.  The map below shows the terrain and also what happened...
My plan was to attack the hill at the defender's side of the board, bypassing the BUA altogether.  I would advance directly to and assult the hill using my cuirassiers as a screen, whilst my jägers would invest the central wood to harass the enemy from there, thus securing my flank.
The French plan was to defend the BUA in strength (with the Old Guard and the artillery in attendance) and use the cuirassers as a mobile defence in the centre.
My plan went well.  As my infantry advanced in column up the left towards the hill, my curassiers surged forward to engage their French counterparts, whilst my jägers marched into the central wood.
The cavalry quickly engaged and the French found that they were no match for my newly painted Russians.
Meanwhile, the French, realising that the BUA had been completely bypassed, desperately started to move the defending troops out and towards the other side of the table, forgetting (perhaps) the requirement to stay within 12 inches of that objective.
In the centre things were going very badly for the French cavalry.  Being forced to flee they were pursued (and eventually caught) by the Russian cuirassiers (note hastily redeploying French artillery about to be trampled).
As for the Russian infantry, they stoically (and inexorably) continued their advance towards the hill changing into line formation for the assault.  The two defending French infantry regiments looked on, nervously.
And so to the attack.  As the Russians got closer, the French fired and forced the Tomsk regiment on the right of my line to halt.
But the regiments of the Lithuania Inspection continued forward, returning fire, when something rather unfortunate (for the French) happened:
This resulted in the French regiment on the left being all but blown away and its tattered remains turned around and fled.  The Ekaterinslav Grenadiers then moved forward putting foot on the hill, menacing the remaining French infantry.
Meanwhile, the Bavarians and Old Guard were moving towards their collapsing right flank (the Russian cuirassiers having chased the French cavalry off the table in the background), but we all knew it would be too late.
And so it proved, as a full volley from the Tomsk Musketeers punched holes in the last French regiment on the hill and the grenadiers moved in for the kill.  It was all over.
So, a resounding victory for my new Russians and a great start to their career.  I would take credit for the win, but perhaps their general deserves most of the glory.
And with two wins under my belt, my thoughts turned to the next game in the campaign.  According to the system I'd set up the choice was between No. 13 Escape and No. 18 Counter-Attack.

I swithered a bit between the two, but considered that as I'd won two games in a row I ought to make the next one more of challenge for me, so I decided on No. 13 and that will be the next AAR in this series.